Frontend Integration
The authentication service provides a JavaScript SDK for integrating authentication into your frontend application. This SDK allows you to trigger the authentication process and handle the authentication response. There are three(3) different options for integrating the authentication service into your frontend application:
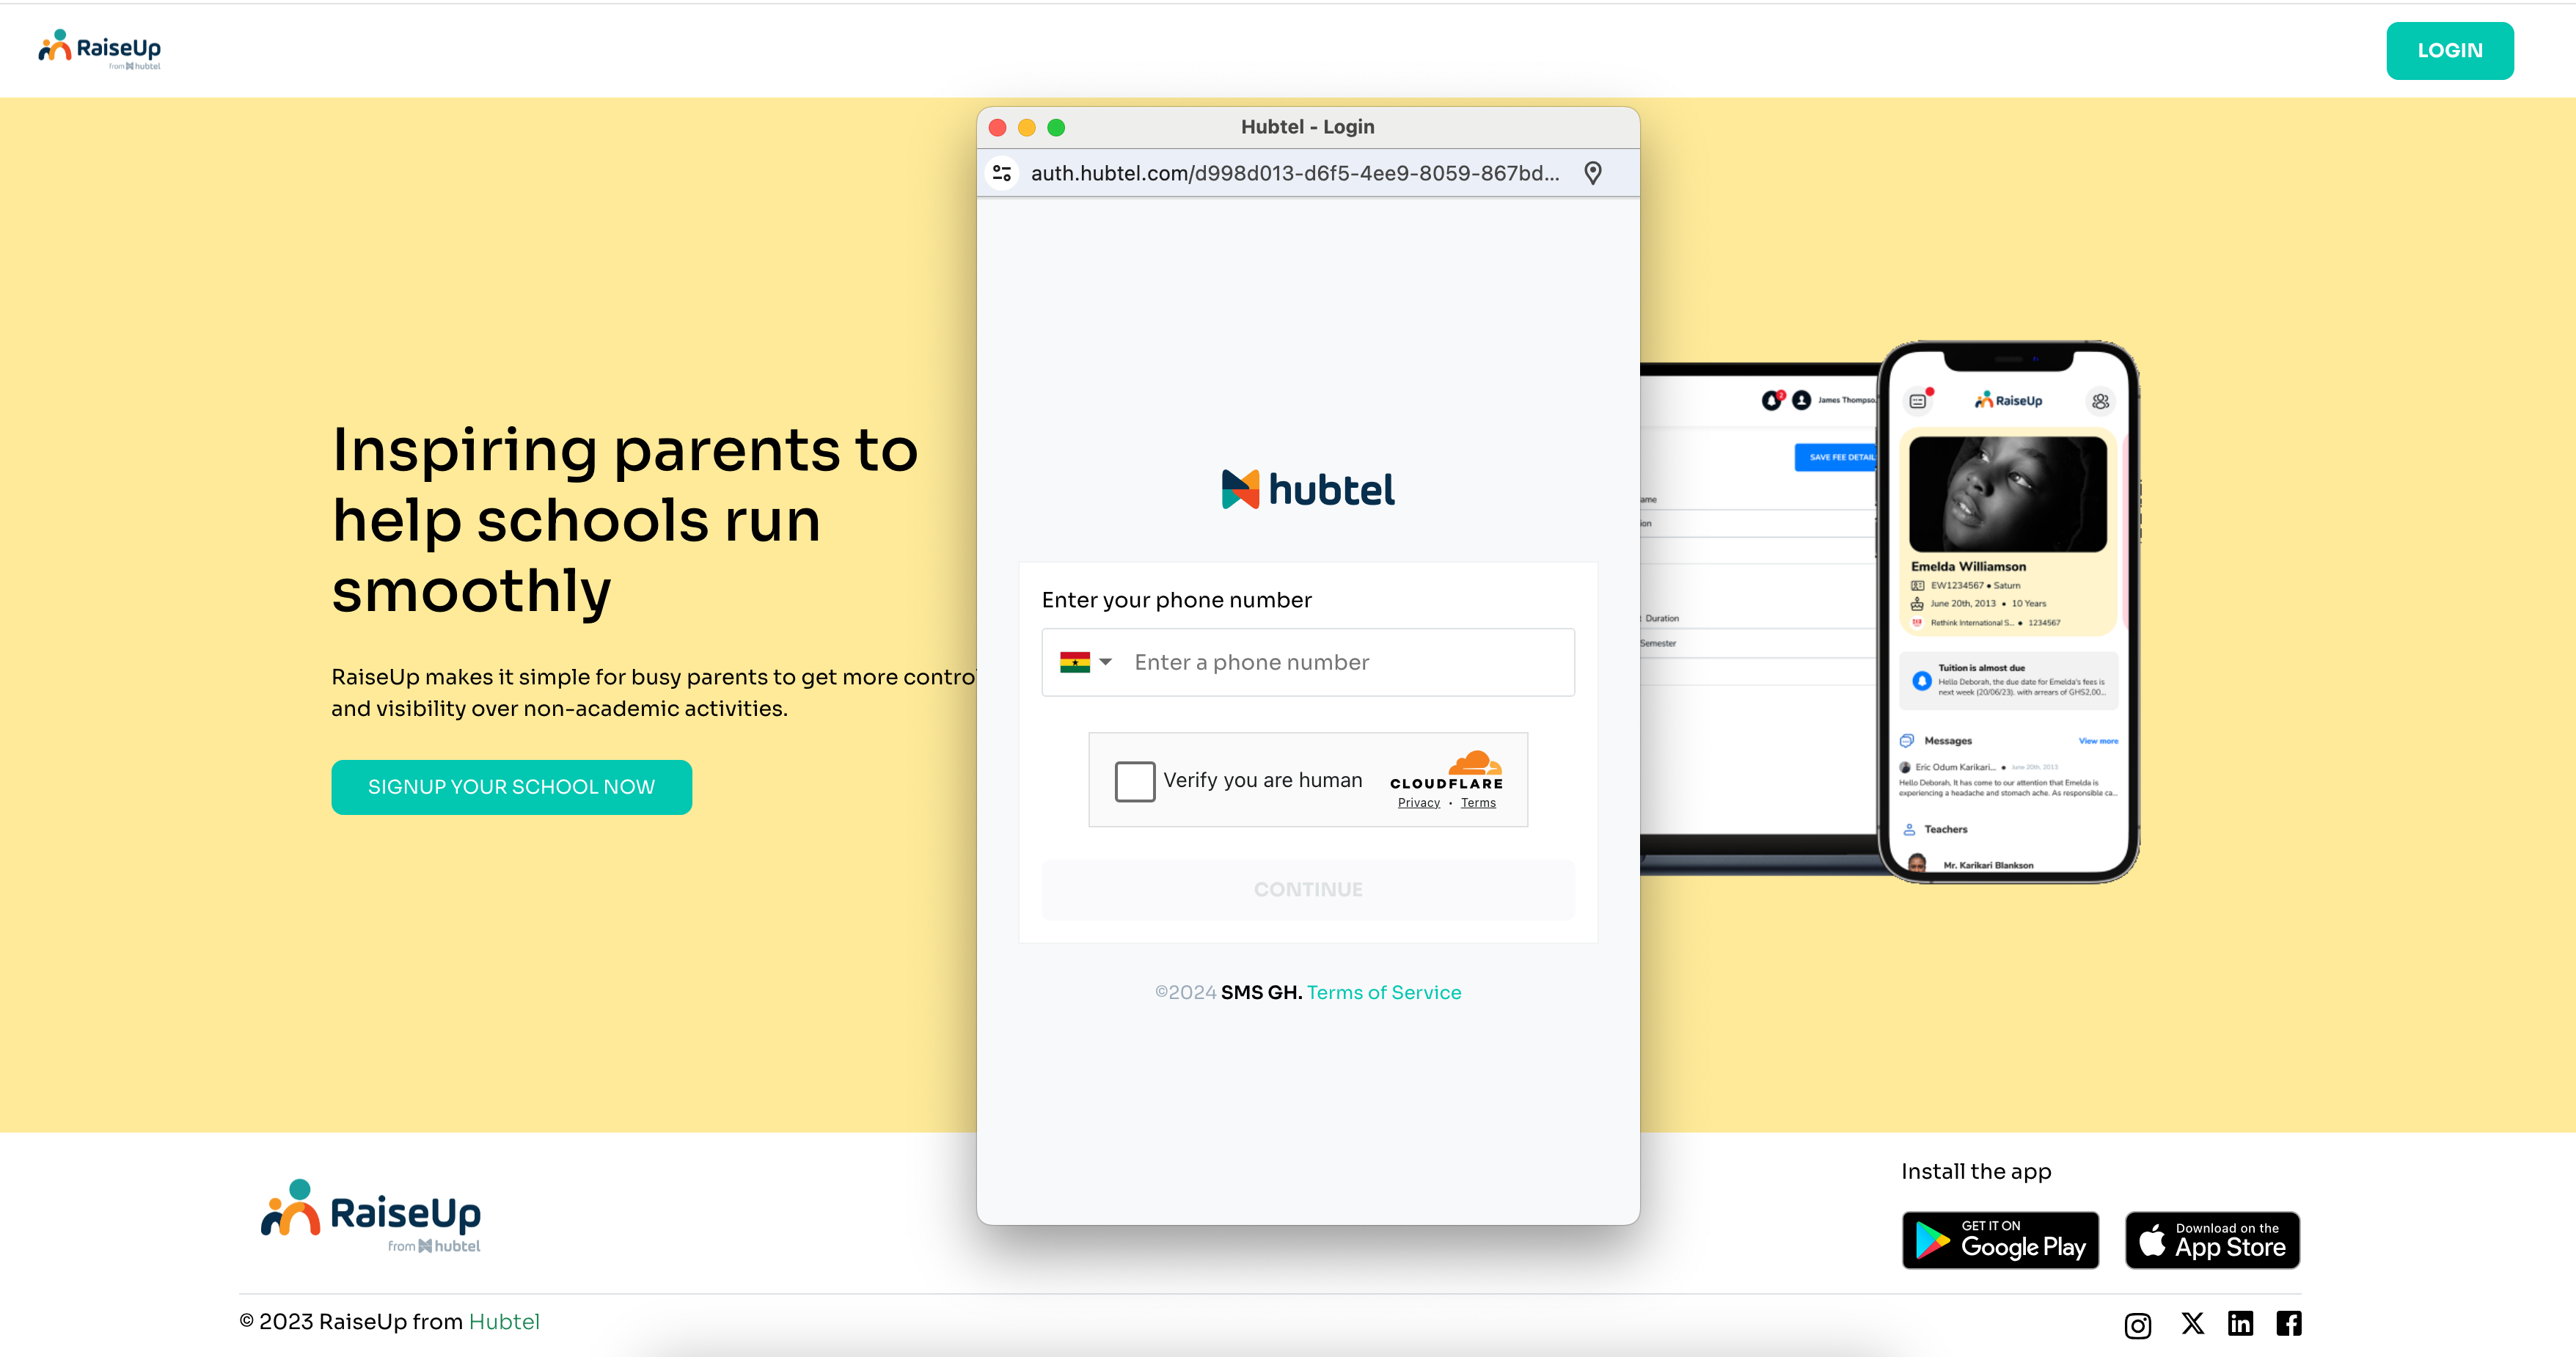
Redirect: This option redirects the user to the authentication service's login page, where they can authenticate themselves. After successful authentication, the user is redirected back to your application with the authentication response.
Popup: This option opens a new window for the user to interact with the authentication service. After successful authentication, the window is closed, and the user is redirected back to your application with the authentication response.
Iframe: This option embeds the authentication service's login page in an iframe within your application. After successful authentication, the response is sent to the parent window.
Strip Mode: This option gives you more control over the UI by providing only the authentication form component. Unlike the iframe option, Strip Mode allows you to embed just the authentication form within an existing page, enabling full customization of the rest of the page around the form.
The next section provides a step-by-step guide on how to implement each of these options listed above above in your frontend application.
Important Note
Irrespective of the option you choose, you will need to include the Hubtel Authentication JavaScript SDK file in your code:
For Next.js, add this to the body tag in the root layout file:
<Script
  src="[BASE_URL]/js/v1/auth.js"
  strategy="beforeInteractive"
/>
After including the SDK in your project, you need to initialize it by creating an instance of the AuthSDK class. Provide your unique application ID when creating the instance.
const authSDK = new AuthSDK(appId, authOptions);appId: This is the unique application ID you received after registering your application with the authentication service. It is required for redirect and popup options.
authOptions: This is an object that contains additional configuration options for the authentication process. The available options are:
redirectUrl: The URL to redirect the user to after successful authentication. This is required when using the redirect option. The redirectUrl must be on the same domain as the referral URL.phoneNumber: The user's phone number. This is required when the user is known and is not required to provide enter their phone number again during the authentication process. This option needs to be activated from the backoffice.
Redirect Option
To trigger the redirect, call the redirect function on the AuthSDK instance. This will open the auth login for the user to authenticate themselves. After successful authentication, the user is redirected back to the redirectUrl with the response appended to the url as query parameters.
declare const AuthSDK: any;

const Login = () => {
  const handleLogin = () => {
    // replace with your app Id and redirect url (must be absolute)
    const appId = "d998d013-d6f5-4ee9-8059-867bd44f6e52"
    const authSDK = new AuthSDK(appId, { redirectUrl: "http://localhost:3000/redirect" })
    authSDK.redirect()
  }

  return (
    <button onClick={handleLogin} className="btn d-block w-100 btn-outline-primary btn-block mb-3">
      Redirect Login
    </button>
  );
};

export default Login;
Obtaining response from redirect option
After successful authentication, the user will be redirected to the redirectUrl provided prior with the response appended to it:
// Sample URL after redirect
http://localhost:3000/redirect?mobileNumber=233208074263&token=[TOKEN]&expiry=08%2F09%2F2024+13%3A29%3A44&playerId=null&requestId=&email=null&lat=undefined&lng=undefined
Then to retrieve these values in your route component:
import React, { useEffect, useState } from 'react';

const YourComponent: React.FC = () => {
  const [successResponse, setSuccessResponse] = useState<Record<string, string>>({});

  useEffect(() => {
    const urlParams = new URLSearchParams(window.location.search);
    const paramsObject: Record<string, string> = {};
    urlParams.forEach((value, key) => {
      paramsObject[key] = value;
    });
    setSuccessResponse(paramsObject);
  }, []);

  return (
    <div>Redirect</div>
  );
};
Redirect

Popup Option
To trigger the popup, call the popup function on the initialized AuthSDK instance with a success and failure callback.
declare const AuthSDK: any;

const Login = () => {
  const handleLogin = () => {
    // replace with your app Id and redirect url (must be absolute)
    const appId = "d998d013-d6f5-4ee9-8059-867bd44f6e52"
    const authSDK = new AuthSDK(appId);
    authSDK.popUp(
      (response) => {
          //Put your logic for handling successful login here
            console.log(response);
      },
      (error) => {
        //Put your logic for handling failed login attempt here
        console.log(error);
      }
    );
  }

  return (
    <button onClick={handleLogin} className="btn btn-primary">
      Popup Login
    </button>
  );
};

export default Login;
Popup login
Iframe Option
To use the iframe option, you need to create an iframe element in your HTML file and set its src attribute to the authentication service's login url with your application ID. If you wish to initialize the iframe with the user's phone number, you can append the phone number as a query parameter to the login url. The iframe option is typically used when you want to embed the login service in an existing page.
<iframe
  src="[BASE_URL]/your-app-id?phoneNumber=233456789023"
  title="Authentication"
  style="height: 100%; border: none; width: 100%;"
>
</iframe>
To listen to the response from the iframe, call the listen function on the initialized AuthSDK instance with a success and failure callback.
import React, { useEffect } from "react";

declare const AuthSDK: any;

// replace with your app Id
const appId = "d998d013-d6f5-4ee9-8059-867bd44f6e52"

const Login = () => {
  useEffect(() => {
    handleLogin();
  }, []);

  const handleLogin = () => {
    const authSDK = new AuthSDK();
    authSDK.listen(
      (response: any) => {
      // Put your logic for handling successful login here
      console.log(response);
      },
      (error: any) => {
        //Put your logic for handling failed login attempt here
        console.log(error);
      }
    );
  };

  return (
    <iframe
      src={`[BASE_URL]/${appId}`}
      title="Hubtel Authentication"
      style={{ height: "100%", border: "none", width: "100%" }}
    />
  );
};

export default Login;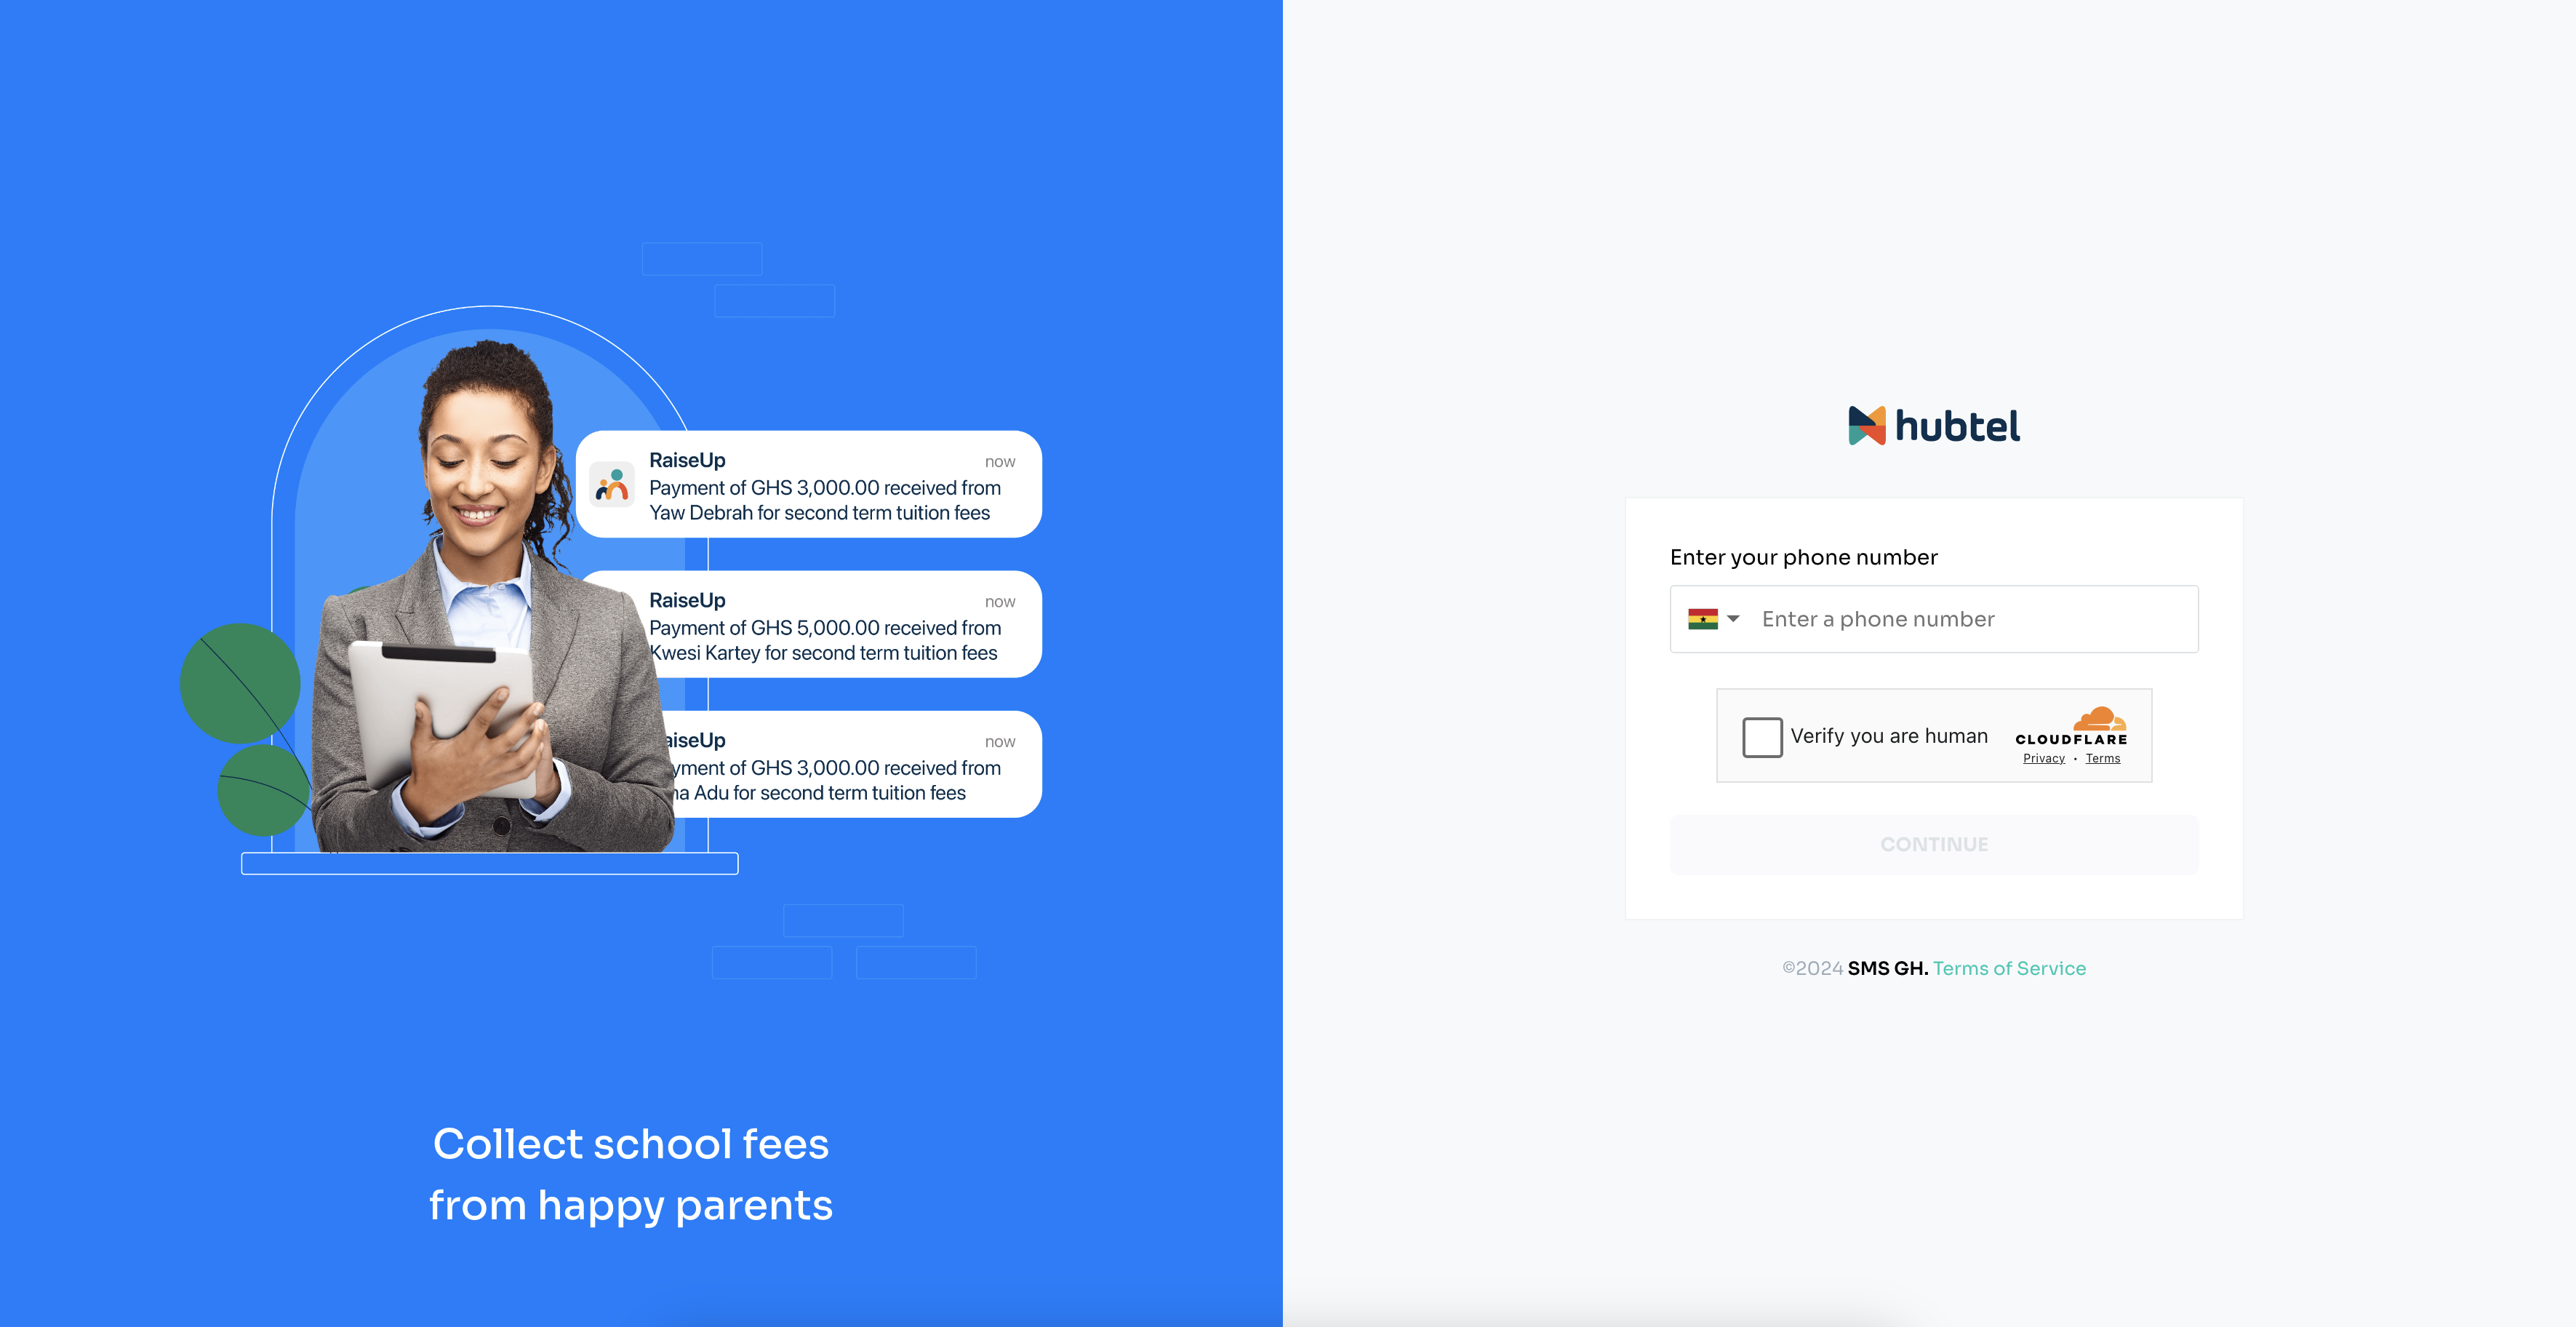
Strip Mode
To use the strip mode, you need to embed an iframe in your HTML file and set its src attribute to the authentication service's strip mode URL with your application ID. The strip mode is designed to be a compact form that can adjust its height dynamically based on the content, providing a seamless user experience within a fixed-width container.
To handle authentication responses and resize events, use the listen function on the initialized AuthSDK instance with success, error, and resize callbacks.
import React, { useEffect, useRef, useState } from 'react';

const Login = () => {
  const [iframeHeight, setIframeHeight] = useState(165);
  const [loading, setLoading] = useState(true)

  useEffect(() => {
    const authSdk = new AuthSDK();
    authSdk.listen(
      (success) => {
        // Handle success response
        console.log(success);
      },
      (error) => {
        // Handle error response
        console.log(error);
      },
      (resize) => {
        // Handle Resize Event
        console.log(resize);
        if (resize?.height) {
          setIframeHeight(resize.height);
        }
      },
      (init) => {
        // Handle initialisation event
          setLoading(false);
        }
      }
    );
  }, []);

  return (
    <div style={{ width: '500px', padding: '10px', borderRadius: '10px' }}>
      <iframe
        style={{
          width: '100%',
          border: 'none',
          transition: '0.5s',
          borderRadius: '10px',
          height: `${iframeHeight}px`,
          display: loading ? "none" : "block"
        }}
        title="Hubtel Authentication"
        src="[BASE_URL]/d998d013-d6f5-4ee9-8059-867bd44f6e52/strip"
      />
    </div>
  );
};

export default Login;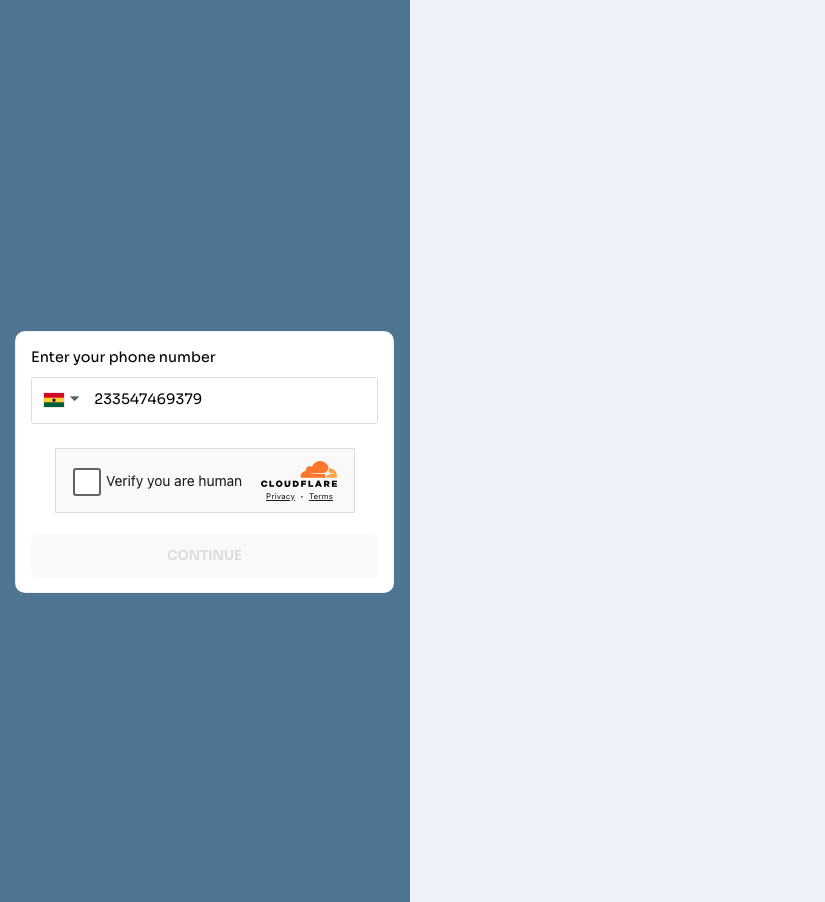
Response Objects
Success Response
The success callback receives a response object with the following structure:
json{ success: boolean, data: { mobileNumber: string, token: string, hasSetPin?: boolean, expiry: string lat?: string lng?: string } }The
dataobject contains details such as the authenticated user's mobile number, token, and token expiry information.Error Response
The error callback receives an error object with the following structure:
json{ reason: string; code: number; }The
reasonfield provides a human-readable description of the error or reason for the failure, and thecodefield represents an error code for programmatic handling.
Was this helpful? 📚
CHAT SAMMIAT